1. Overview
Proxmox VE is a complete, open-source server management platform for enterprise virtualization. It tightly integrates the KVM hypervisor and Linux Containers (LXC), software-defined storage and networking functionality on a single platform. With the integrated web-based user interface, you can easily manage VMs and containers, high availability for clusters, or the integrated disaster recovery tools.
2. Steps
- First, download the PVE image and boot from it.
- Step 1: Go to the official Proxmox website https://www.proxmox.com/en/downloads and download the PVE image file.
- Step 2: In this article PVE is installed by booting through IPMI. If the machine you're installing on doesn't have IPMI, try using Ventoy to set up a multi-boot USB drive, or use image-flashing software to install PVE.
- Install PVE
- Step 1: After booting into PVE, select Install Proxmox VE to start the installation.
- Step 2: The self-check screen appears; wait a few seconds. When the license agreement appears, accept it by selecting "I agree".
- Step 3: Choose the target hard disk for the installation. If there is only one disk, just select it. If there are several, select the target disk.
- Step 4: Choose the country, time zone and keyboard layout according to your situation.
- Step 5: Set the root login password and email. A strong password is recommended for login; the email can be anything.
- Step 6: Finally, configure PVE's IP address, subnet mask, gateway, DNS server and hostname according to your environment, click "Next" to continue, and then click Install.
- Step 7: When the installation finishes, click "Reboot". After the restart, the installation is complete.
- Access the PVE management interface
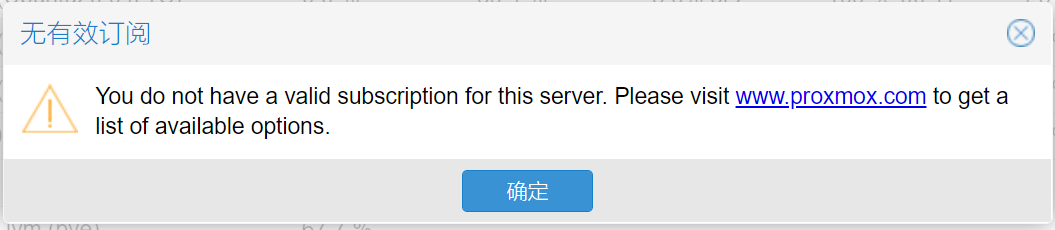
- Step 1: On any computer on the LAN, open a browser and go to https://PVE_IP:8006. After logging in with the password, you'll see a "No valid subscription" message; just click OK to dismiss it.
- PVE is now installed. By default, local is used to store ISO images, container templates and backup files, while local-lvm is used to store disk images and containers.
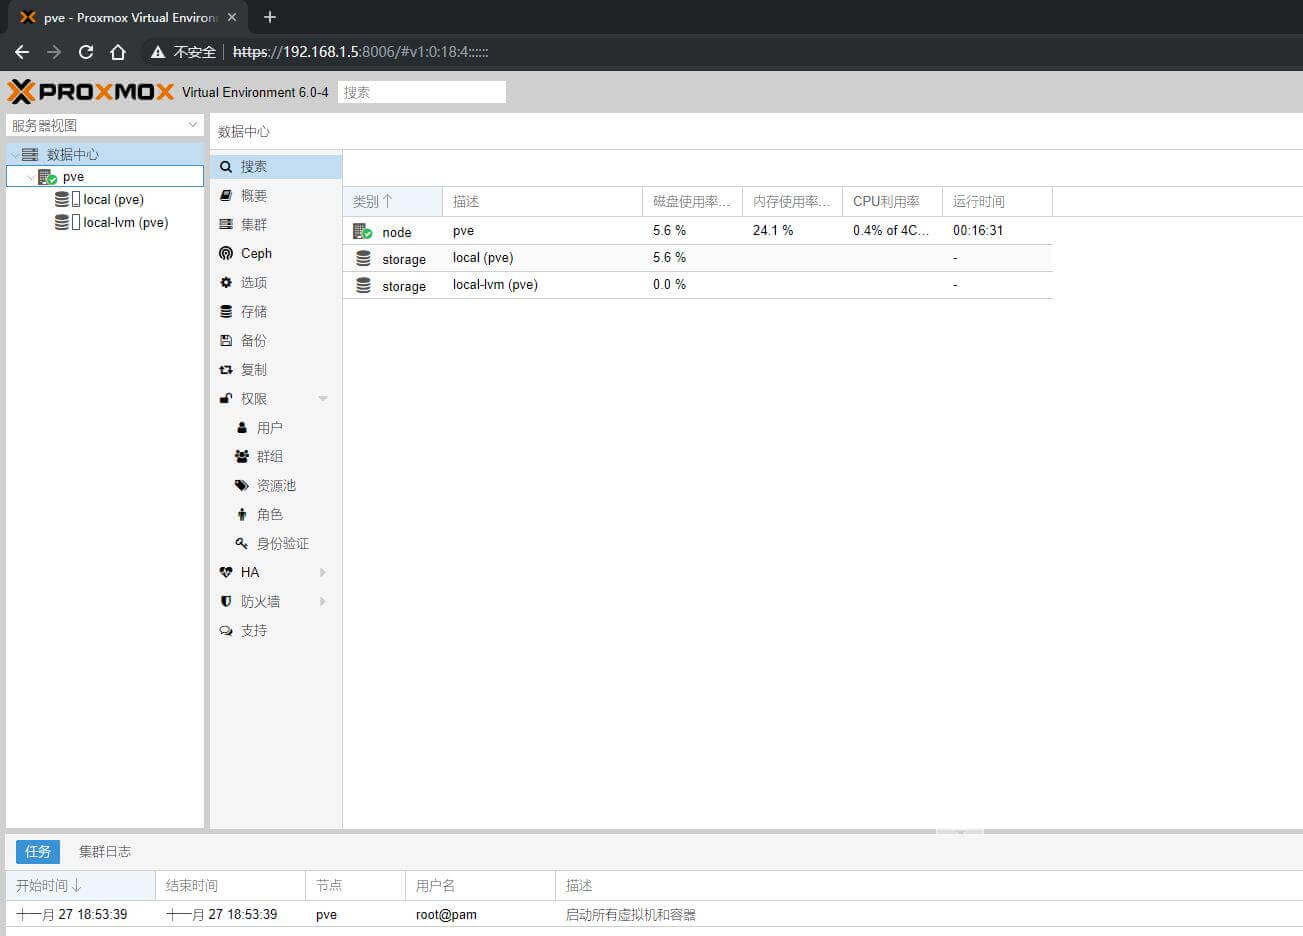
- Step 1: On any computer on the LAN, open a browser and go to https://PVE_IP:8006. After logging in with the password, you'll see a "No valid subscription" message; just click OK to dismiss it.
3. FAQ
Question 1: What if I run out of disk space? Answer 1: Install a new hard disk, go to "PVE - Disks - Directory", click Create: Directory, select the unused disk, choose ext4 as the file system, enter any name, and click "Create". Finally, go to "Datacenter - Storage", select the directory you just created and edit it, tick all the types under "Content", and click OK.